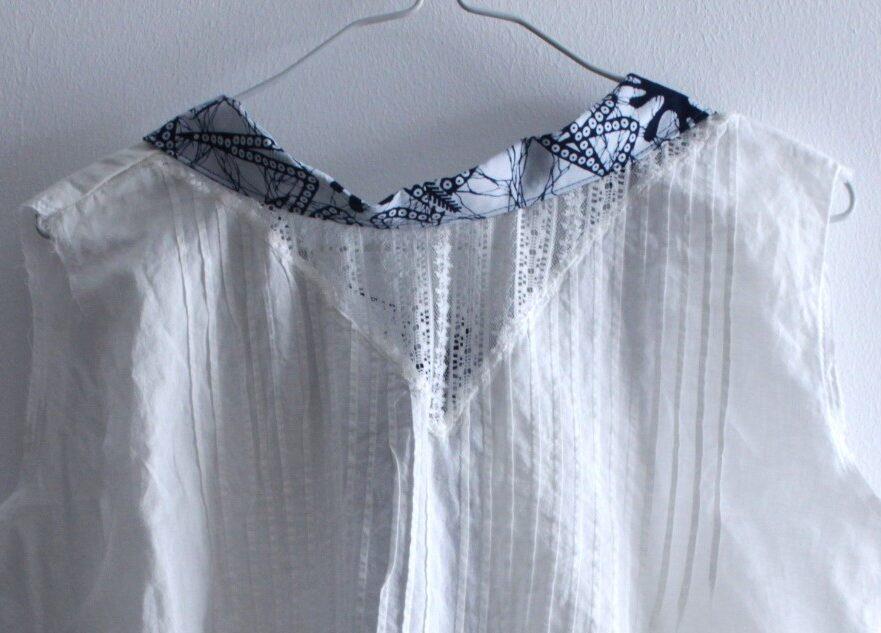
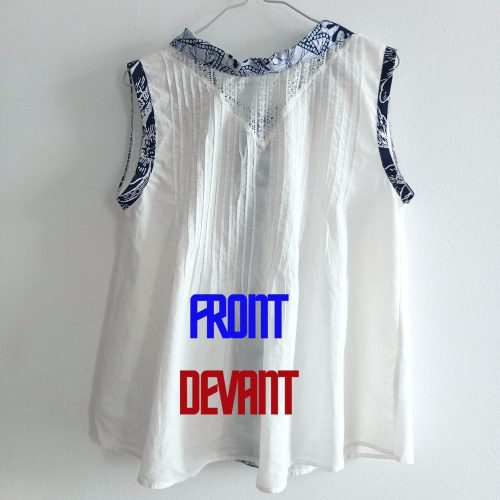
The front of the collar. It is not very upright because the neckline was deep at that level. It is because it as the front previously.
The curve of the collar can be steeper, it is up to you.
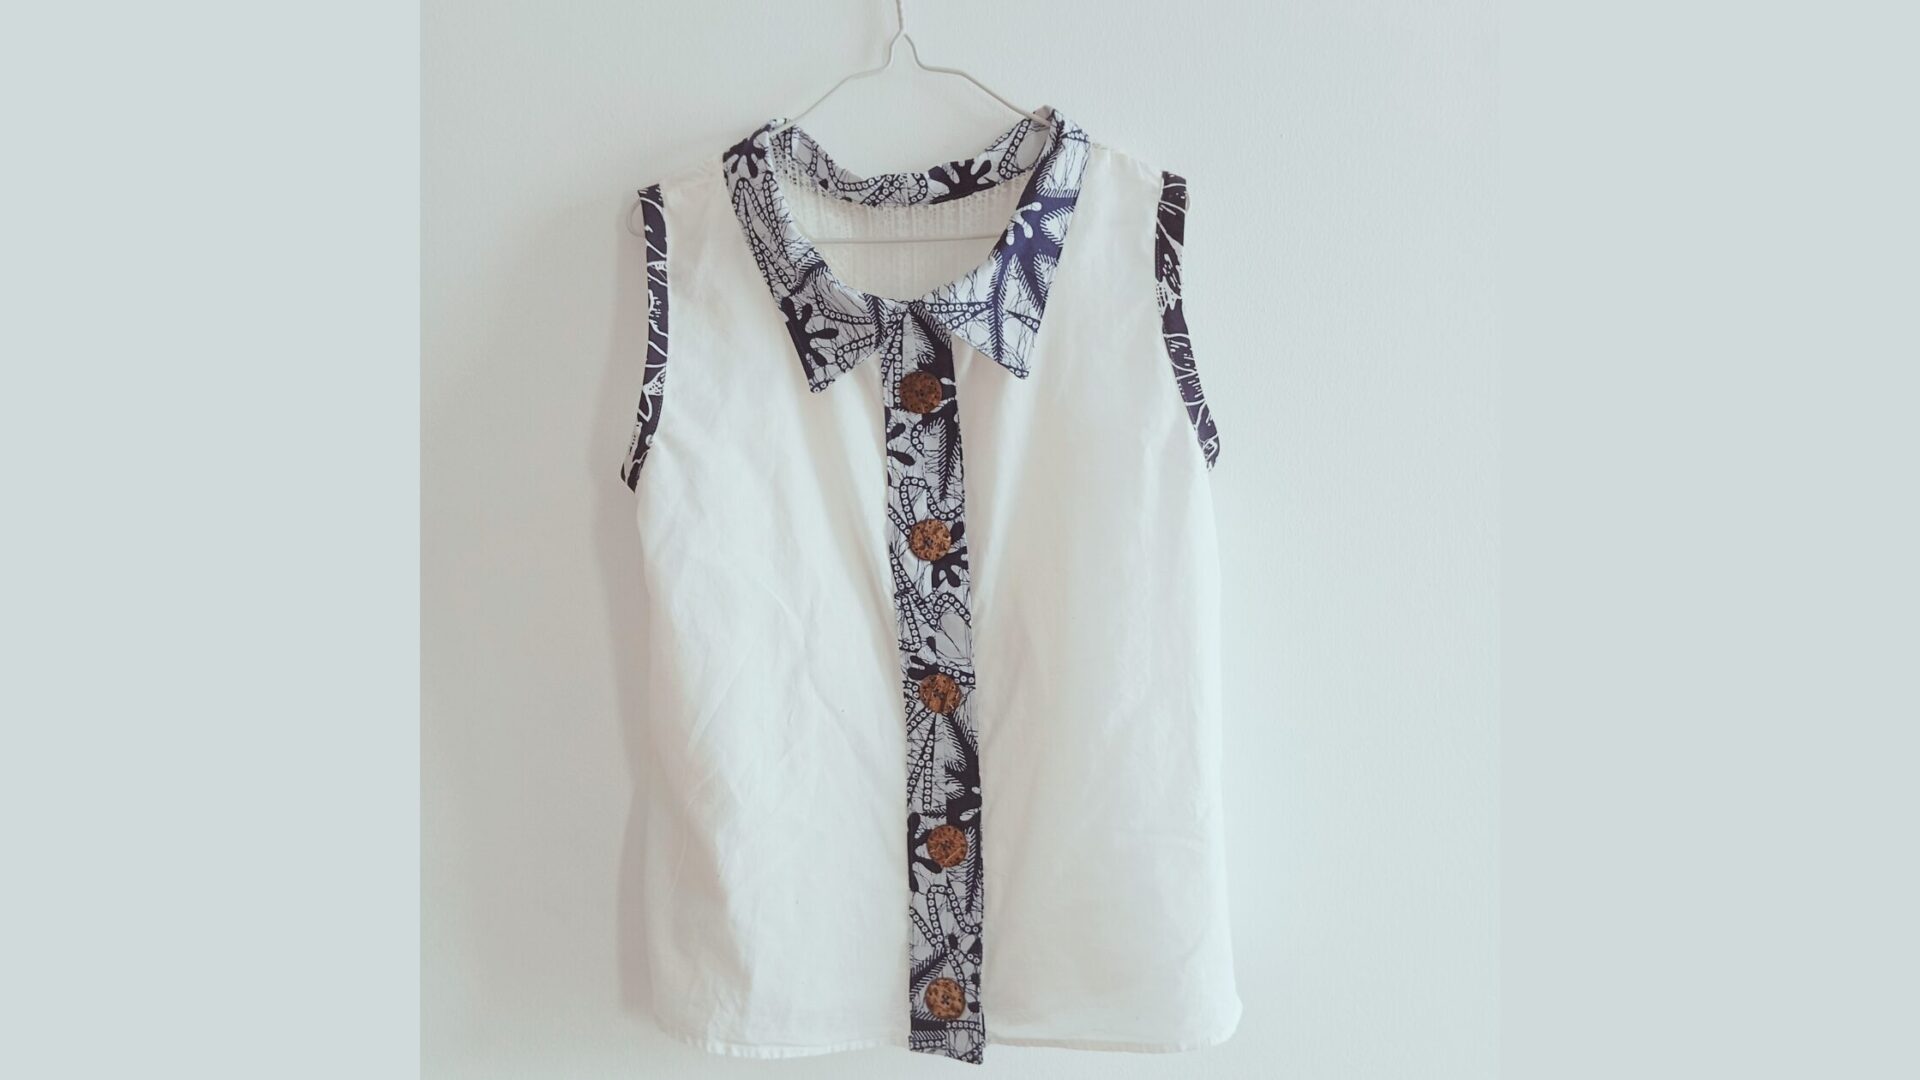
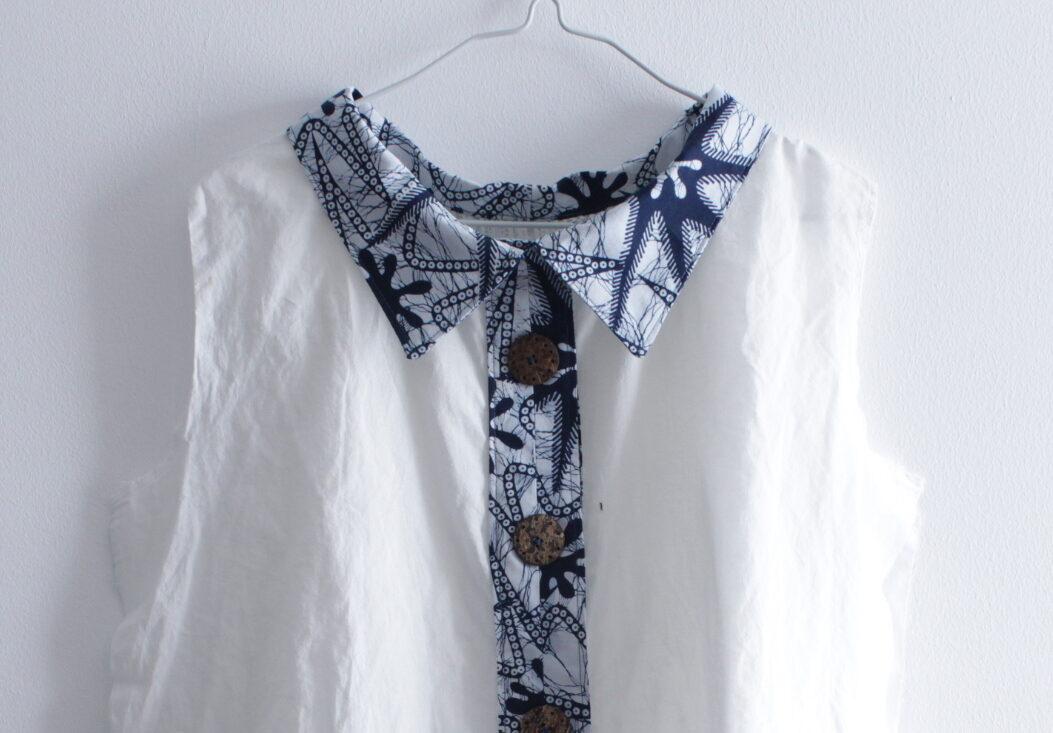
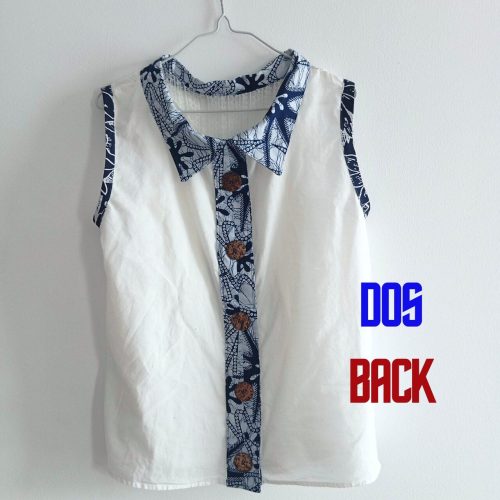
The back is more elaborate that the front. We notice that it is a standard shirt collar, joining at the center front line in continuation of the wide flat buttons.
It is important to sew flat buttons at the back because they are aligned along the spine. Buttons with shank can hurt the back when sitting in a chair.
For obvious reasons, I left the sides and the armholes for the end.
The reason is that it is easier to work on an “open” garment. We can see that the shirt is flat until the sides are sewn: then, it becomes a tube and it is harder to work details such as collars, pockets… on a tube shape.
It is a trick worth applying when sewing a garment and not knowing in which order to assemble the different pieces.
Finally, detail on the armhole is a good reminder for the secondary fabric.
It is my favorite finishing technique: self made biais binding. I used french binding in my previous upcycled shirt which gives a thick border HERE and HERE.
An alternative to french binding is the standard biais finishing but I folded it on the right side on the garment so it shows. It is thinner than the french binding and it follows the curves better.
I left the links to the videos to help you to draw the collar of the shirt
How to draw a mandarin collar
How to draw a shirt collar (from a mandarin collar)


Pingback: Upcycling – Remodeling a shirt with lace (Part 2)
Pingback: Upcycling – Renovation d’une chemise à dentelle (La fin) - Sewing with Coco / Coudre avec Coco