In our previous post, we have organised the “dismantling” of the shirt : we have removed the sleeves, the collar and enlarged the neckline to set a shirt collar on.
For the french version, click on the link HERE
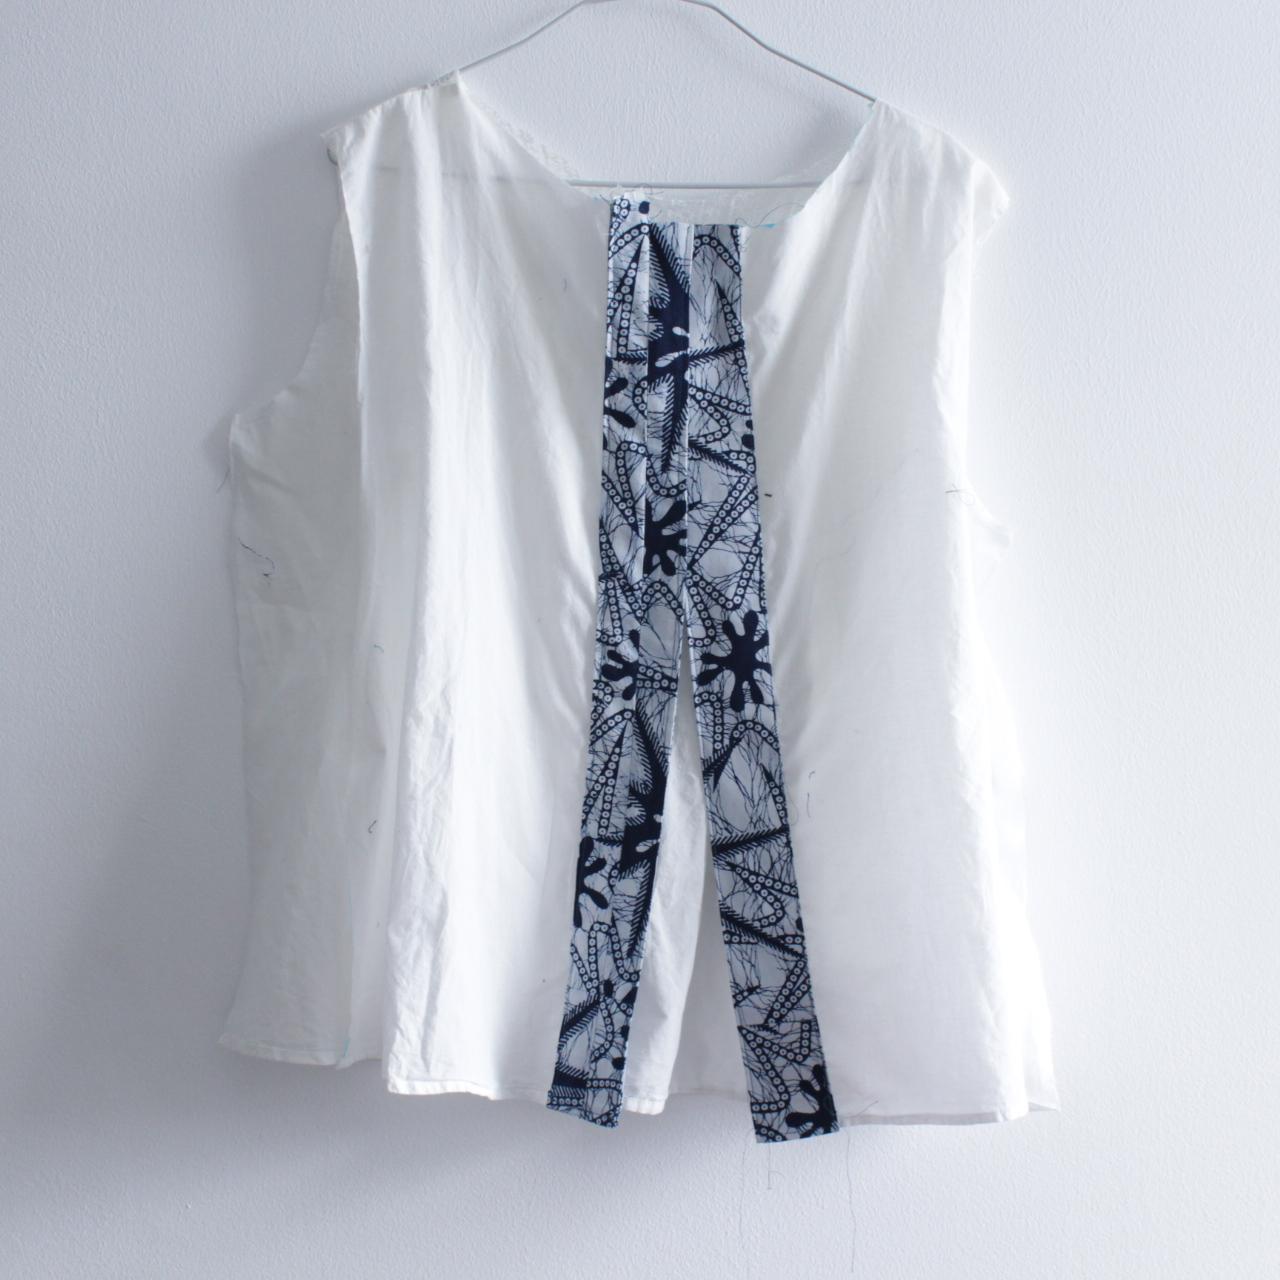
After sewing th sides, I have cut open the center back seam to create an opening at the back.
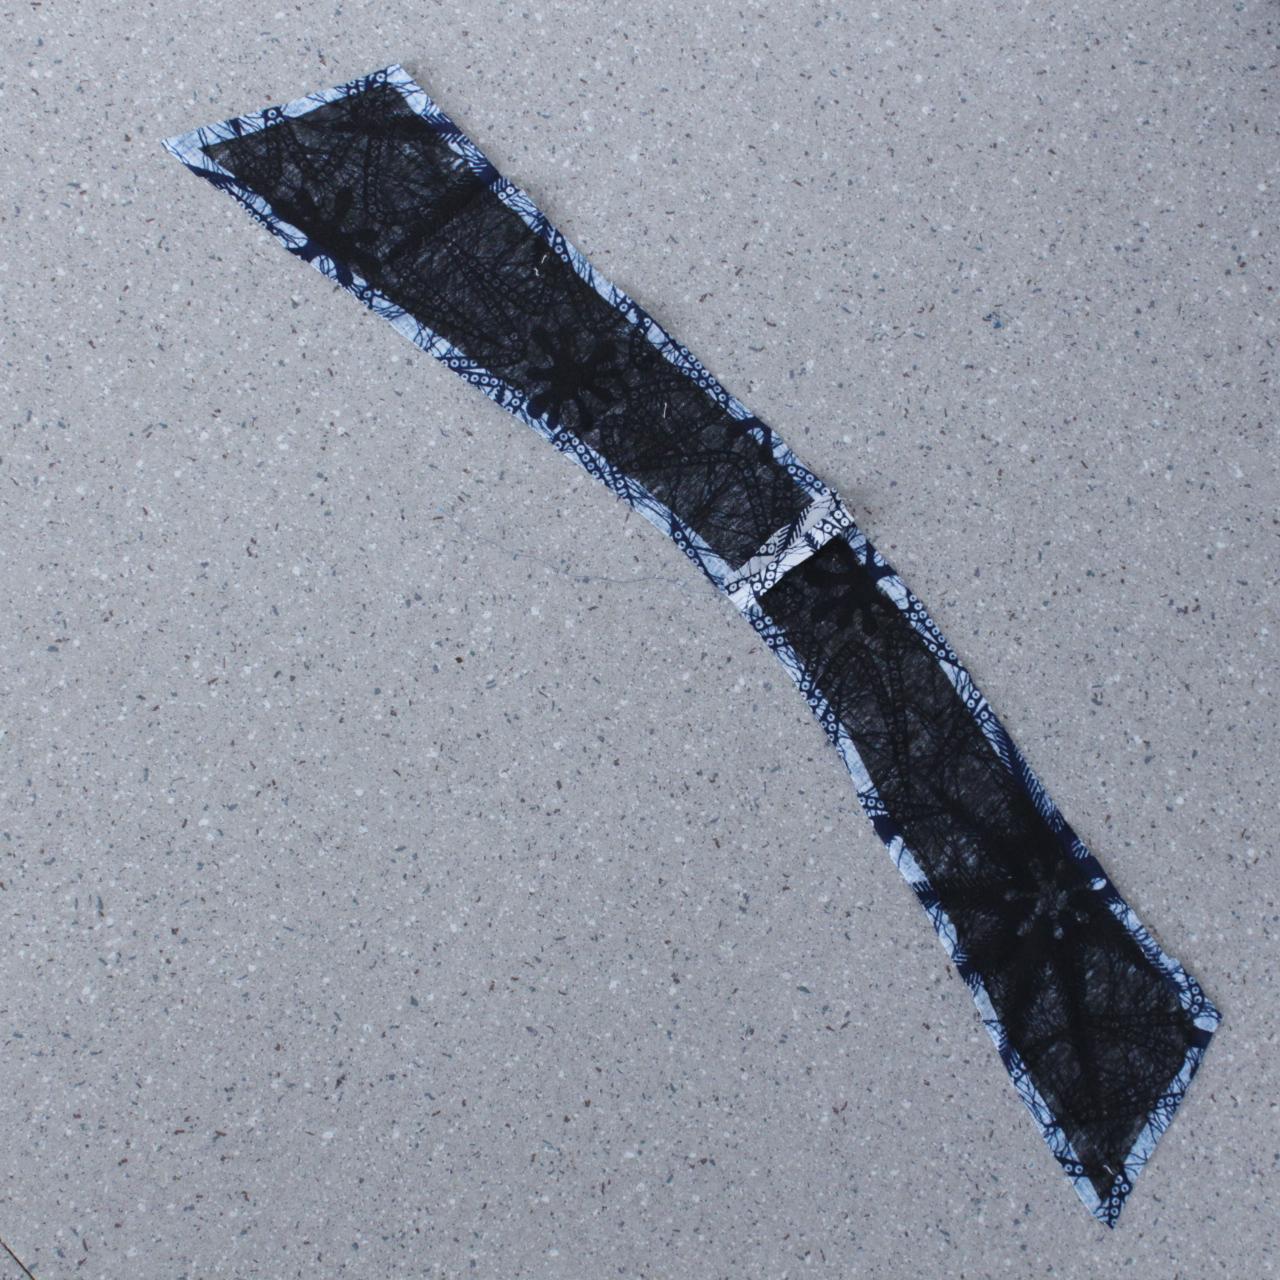
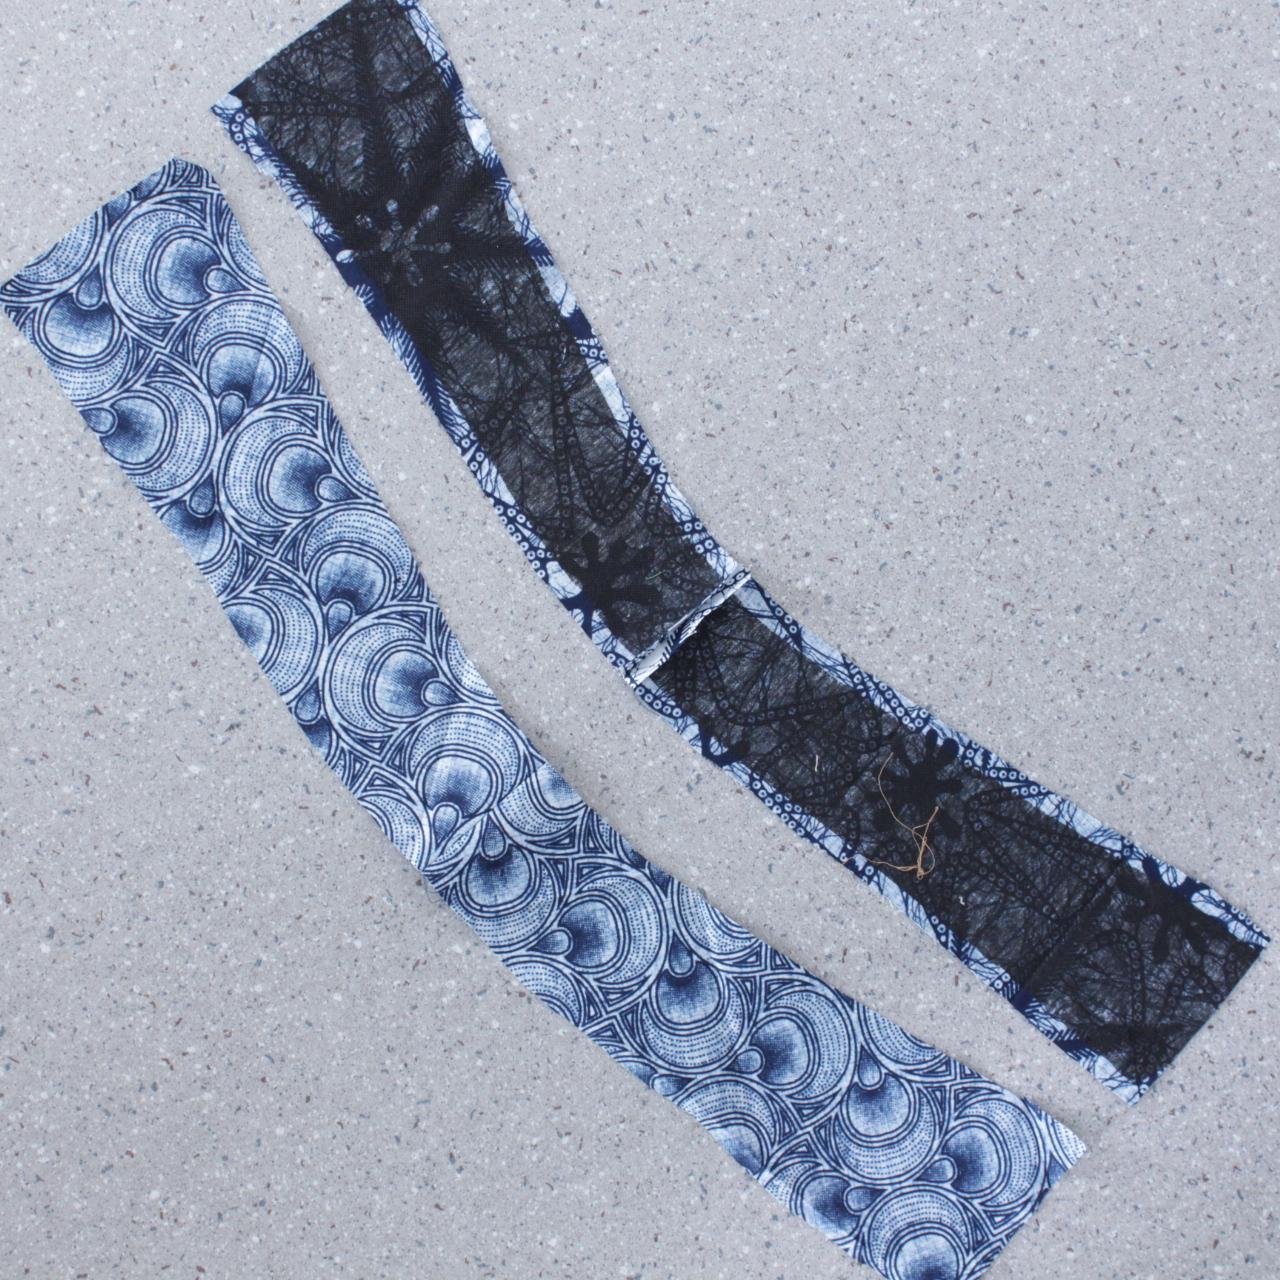
Then, I could with the new fabric add 2 buttoning straps which has been strengthened with solid interfacing. That way, the center back is vertical and stiff enough to have buttons and buttonholes
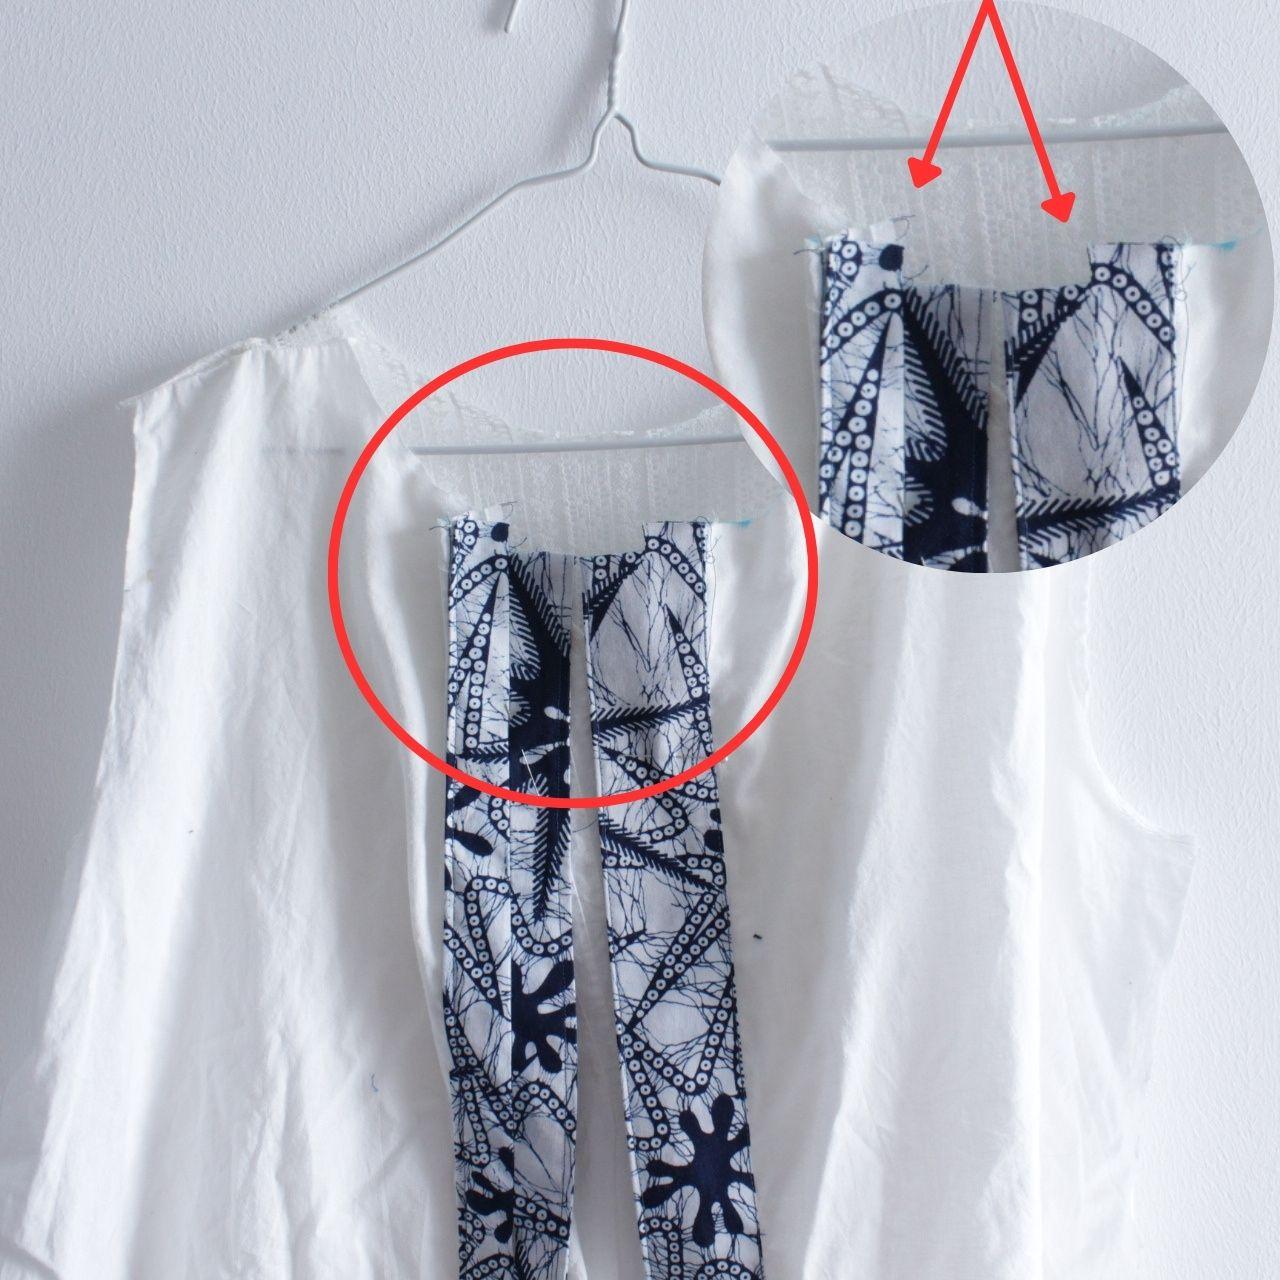
Please, pay attention to the top of the buttonhole strap. We have set up a seam alowance to sew a collar.
As it will be a shirt collar, we have started the seam allowance from the right center front to the left center front. Luckily, it correspond to the center of the buttonholes straps.
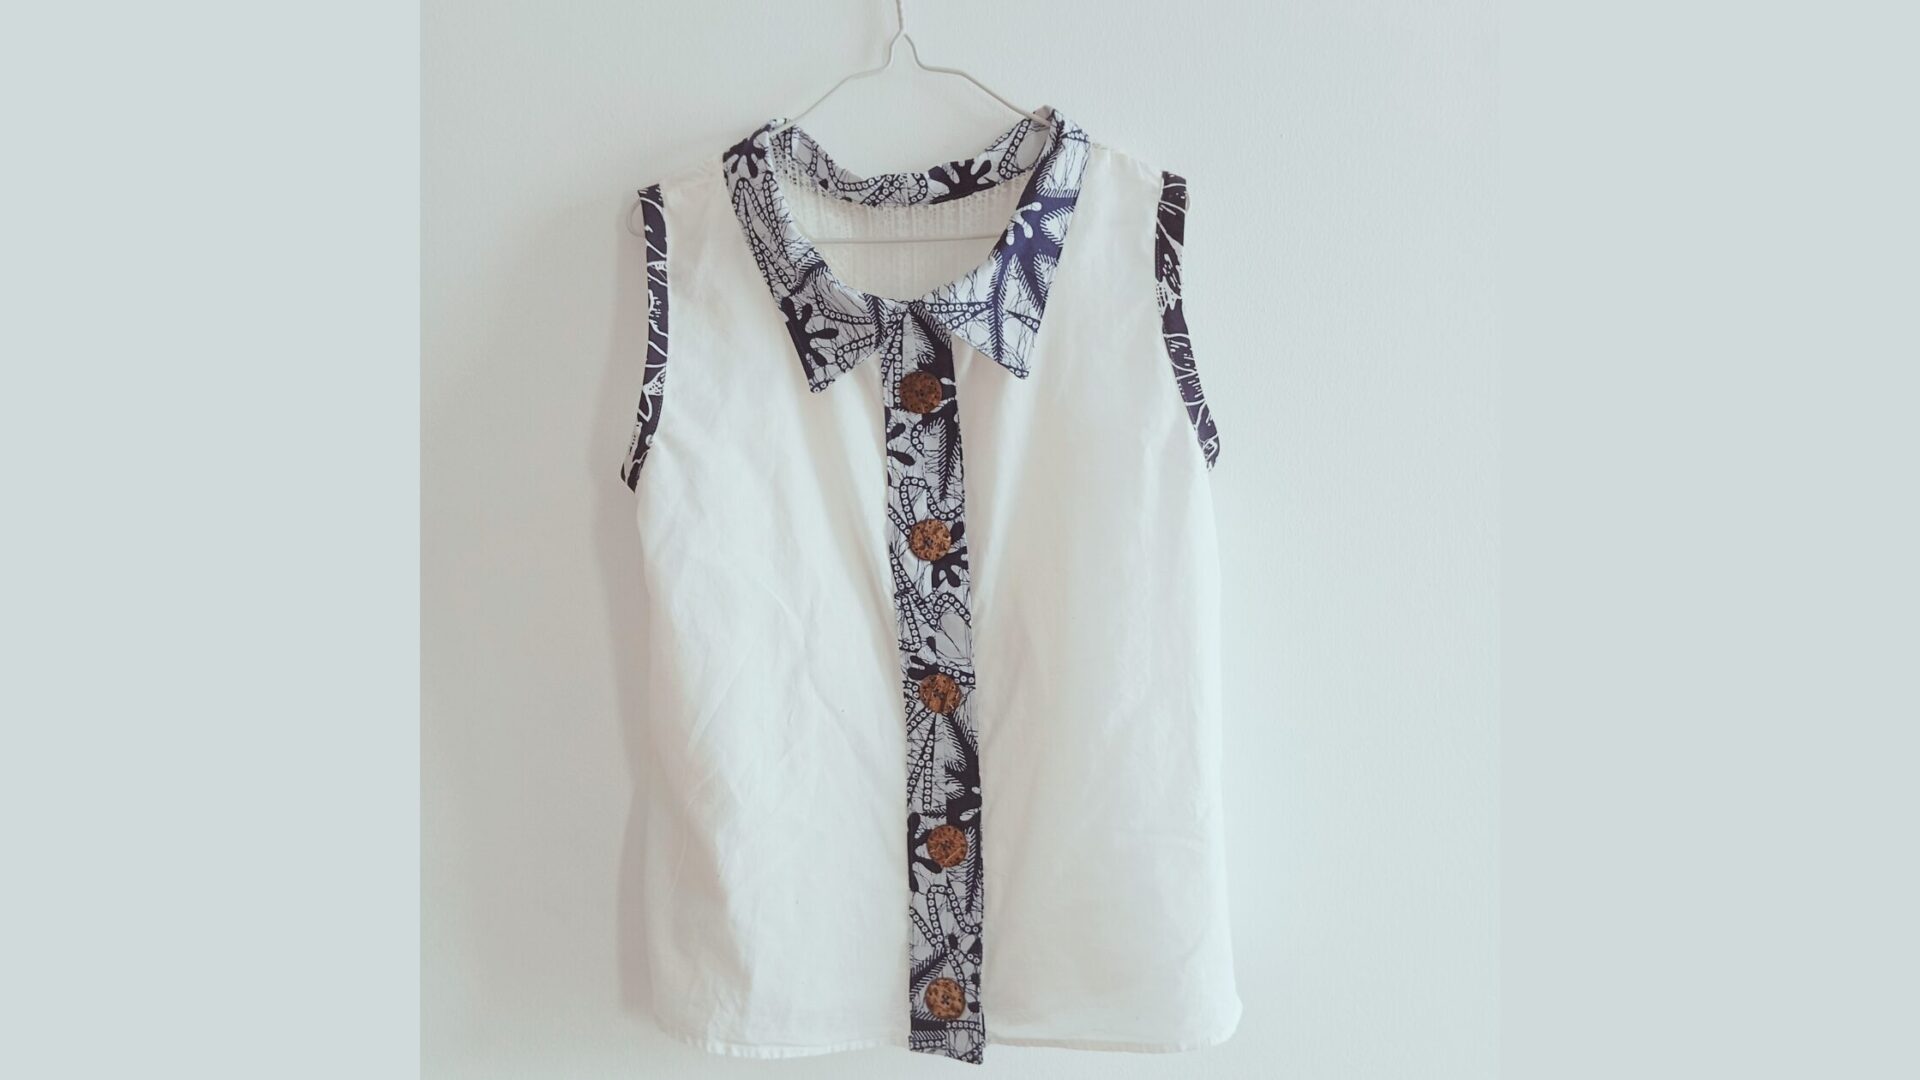
And now we are going to draft a collar
This is only an example of collar. You can choose another collar, wider, rounder…
I refer to my tuto on how to draw the pattern of a collar to help you.
I can assure you that the collar is the most difficult piece to succeed.
How to draw a mandarin collar
How to draw a shirt collar (from a mandarin collar)

Pingback: Upcycling – Remodeling a shirt with lace - Sewing with Coco
Pingback: Upcycling – Renovation d’une chemise a dentelle (La suite) - Sewing with Coco / Coudre avec Coco